iPhone画面に映っているものを写真で保存しPCで利用する方法
ワンタッチでスクリーンショットを撮る方法も
Face ID 搭載モデルの iPhone でスクリーンショットを撮る方法
1.音量を上げるボタンとサイドボタンを同時に押します。

2.すぐに両方のボタンを放します。
3.スクリーンショットを撮ったら、サムネールが画面の左下隅にしばらく表示されますのですぐにクリックします。
消えてしまった場合は、写真の中のアルバムに保存されています。

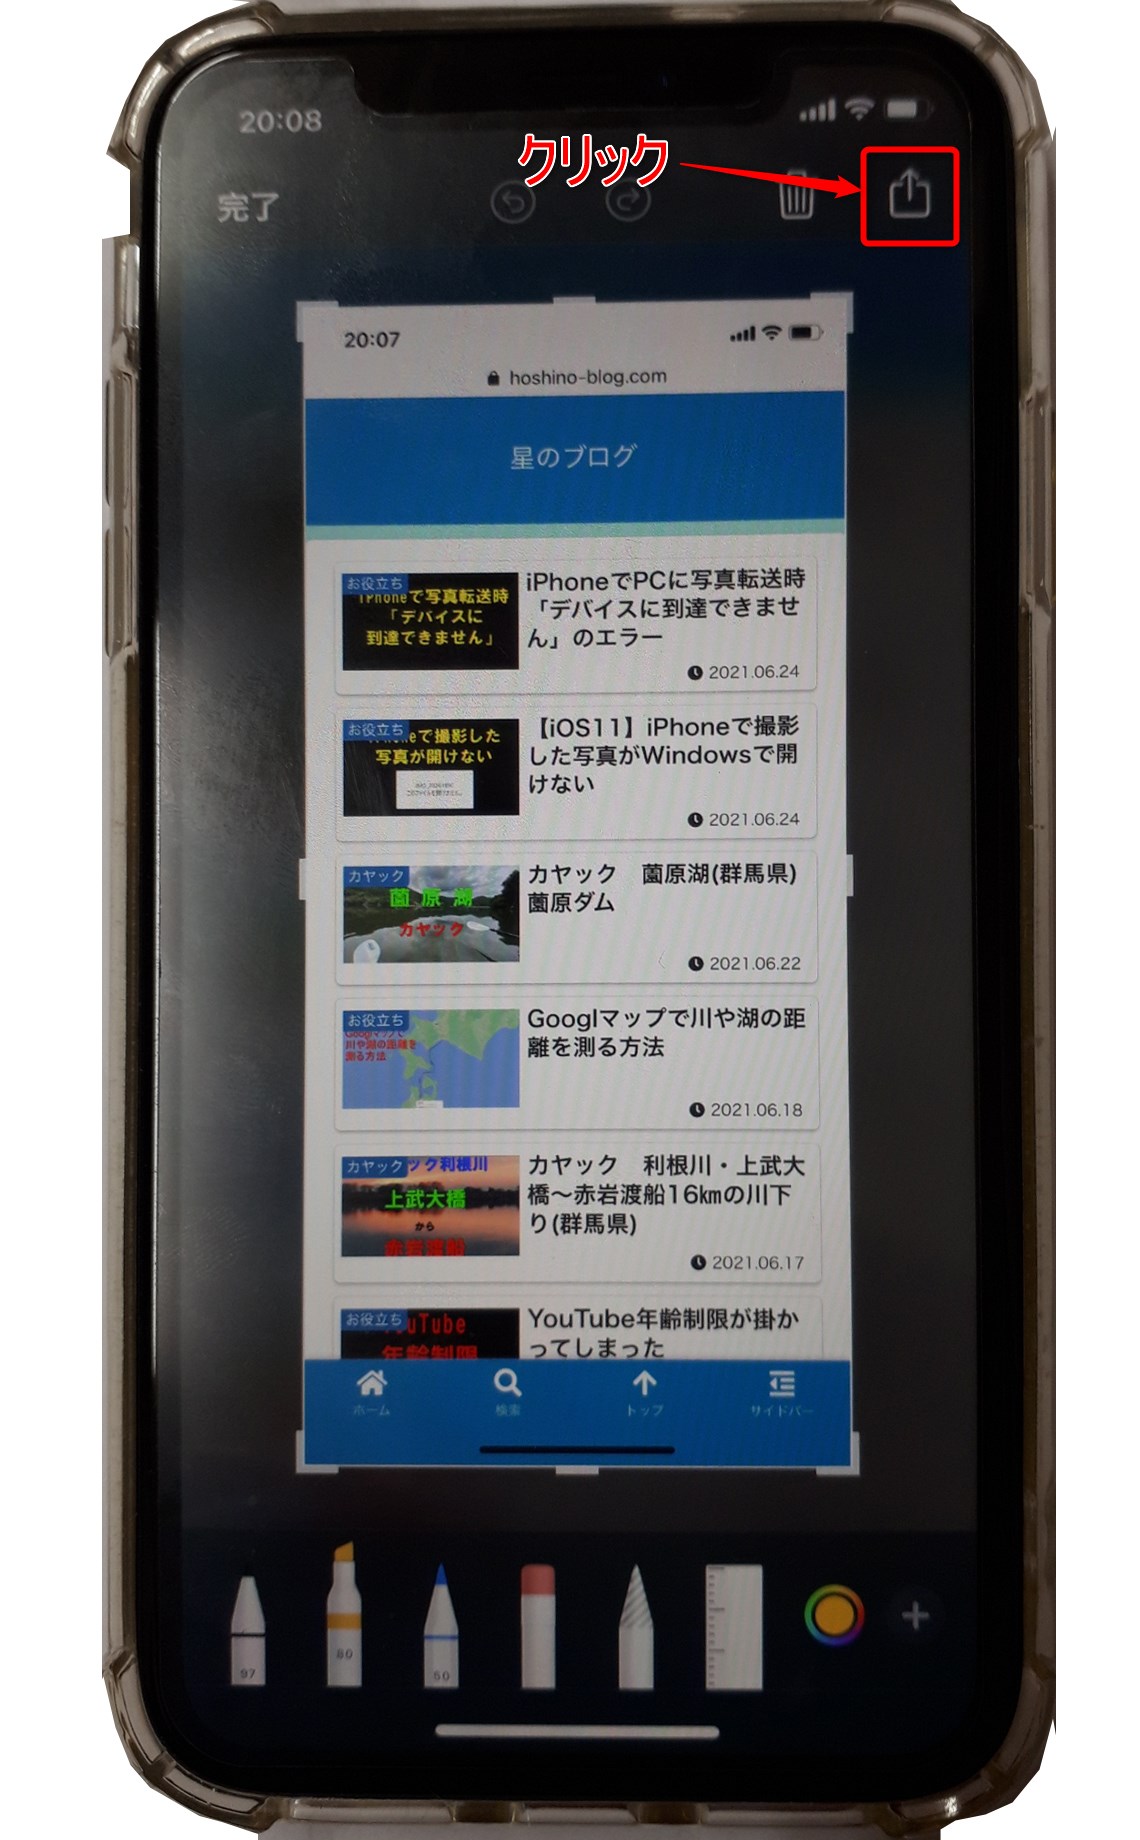
4.サムネールをタップして開くと下のような画面になるので、
右上のボタンをクリックします。

写真の中に保存されてしまった場合は開くと上のような画面と違いますが、
同じマークがありますのでそれをクリック下ください。


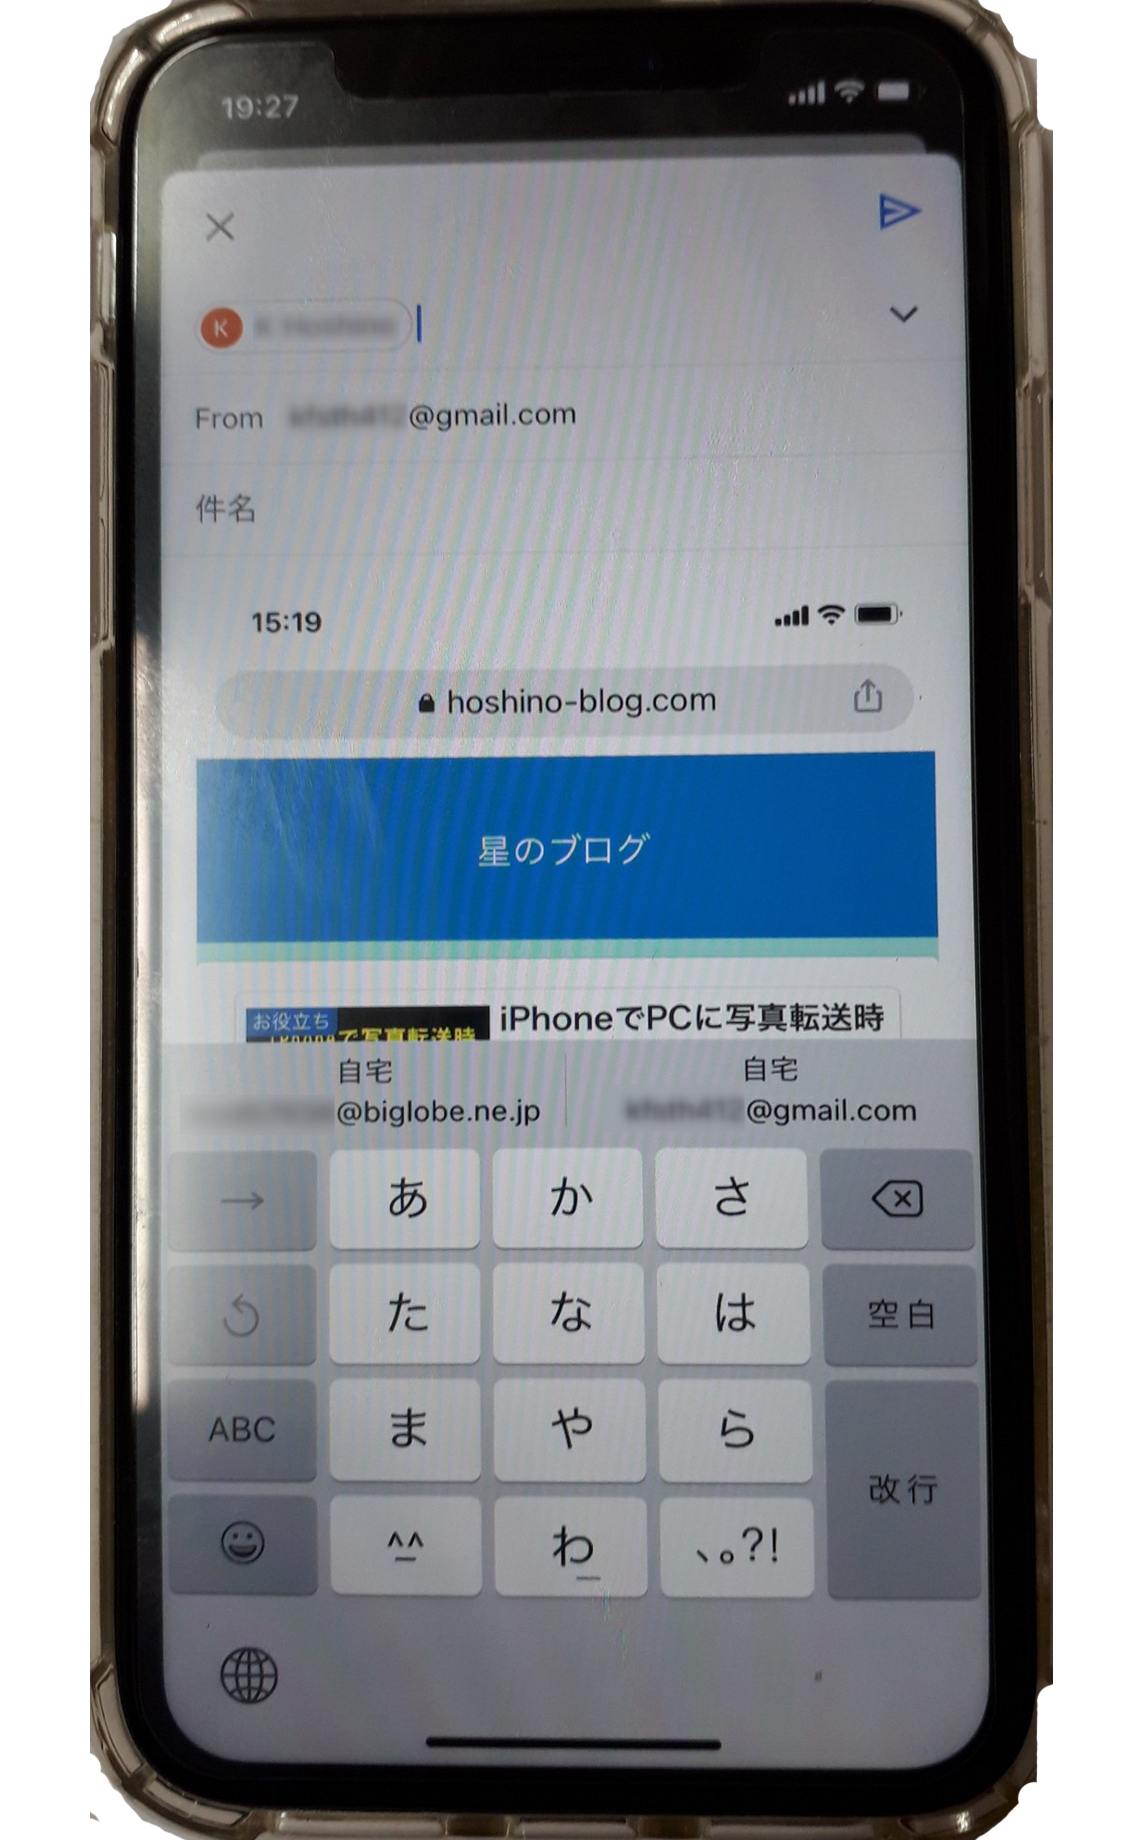
Gmailを開き自分宛てに送信して、PCで受信してダウンロードします。
Touch ID およびサイドボタン搭載モデルの iPhone でスクリーンショットを撮る方法
サイドボタンとホームボタンを同時に押します。

- サイドボタンとホームボタンを同時に押します。
- すぐに両方のボタンを放します。
- スクリーンショットを撮ったら、サムネールが画面の左下隅にしばらく表示されます。サムネールをタップして開くか、左にスワイプして閉じます。
ショートカットを作りワンタッチでスクリーンショットを撮る方法
AssistiveTouch
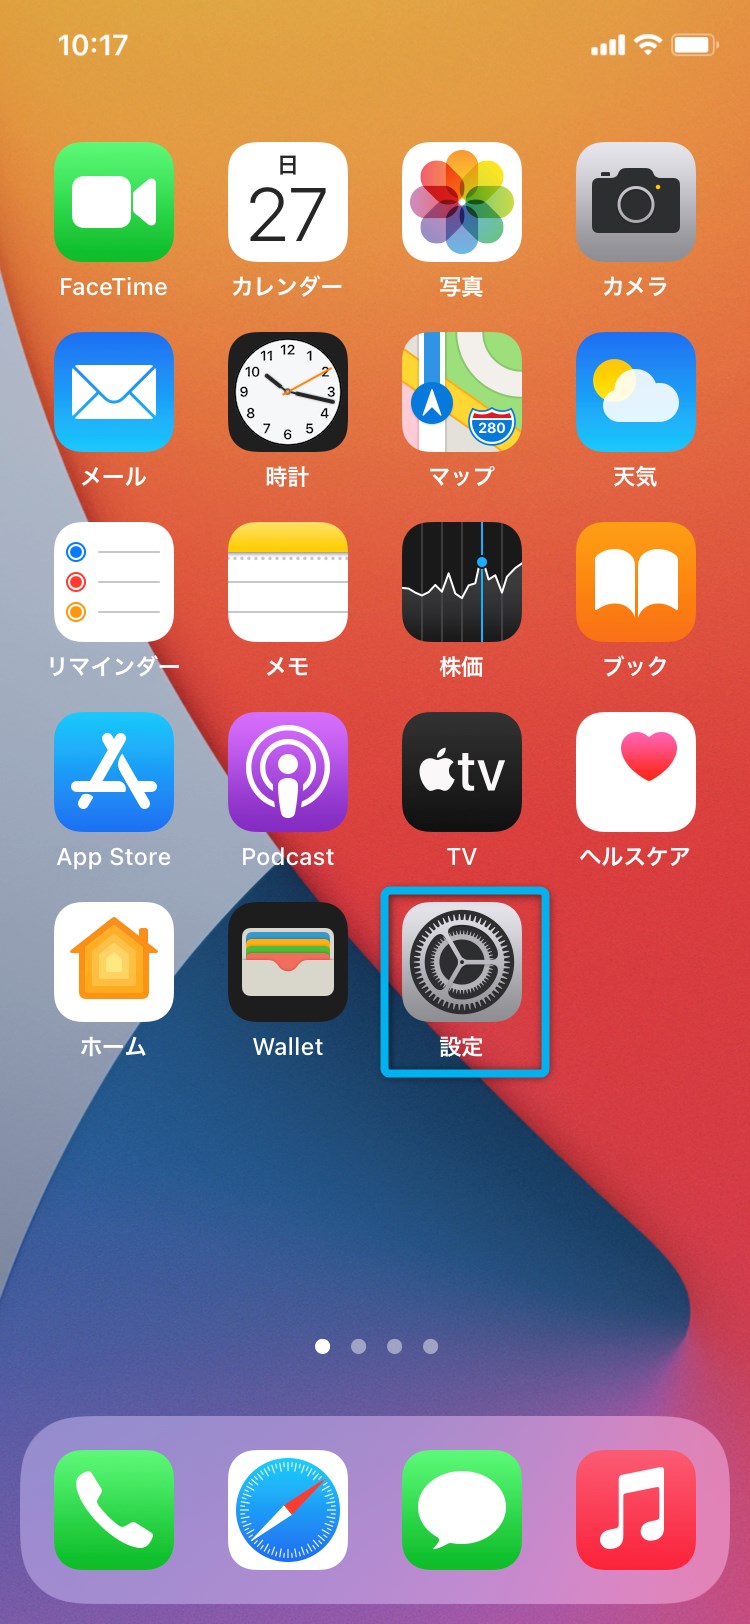
設定を選択します。
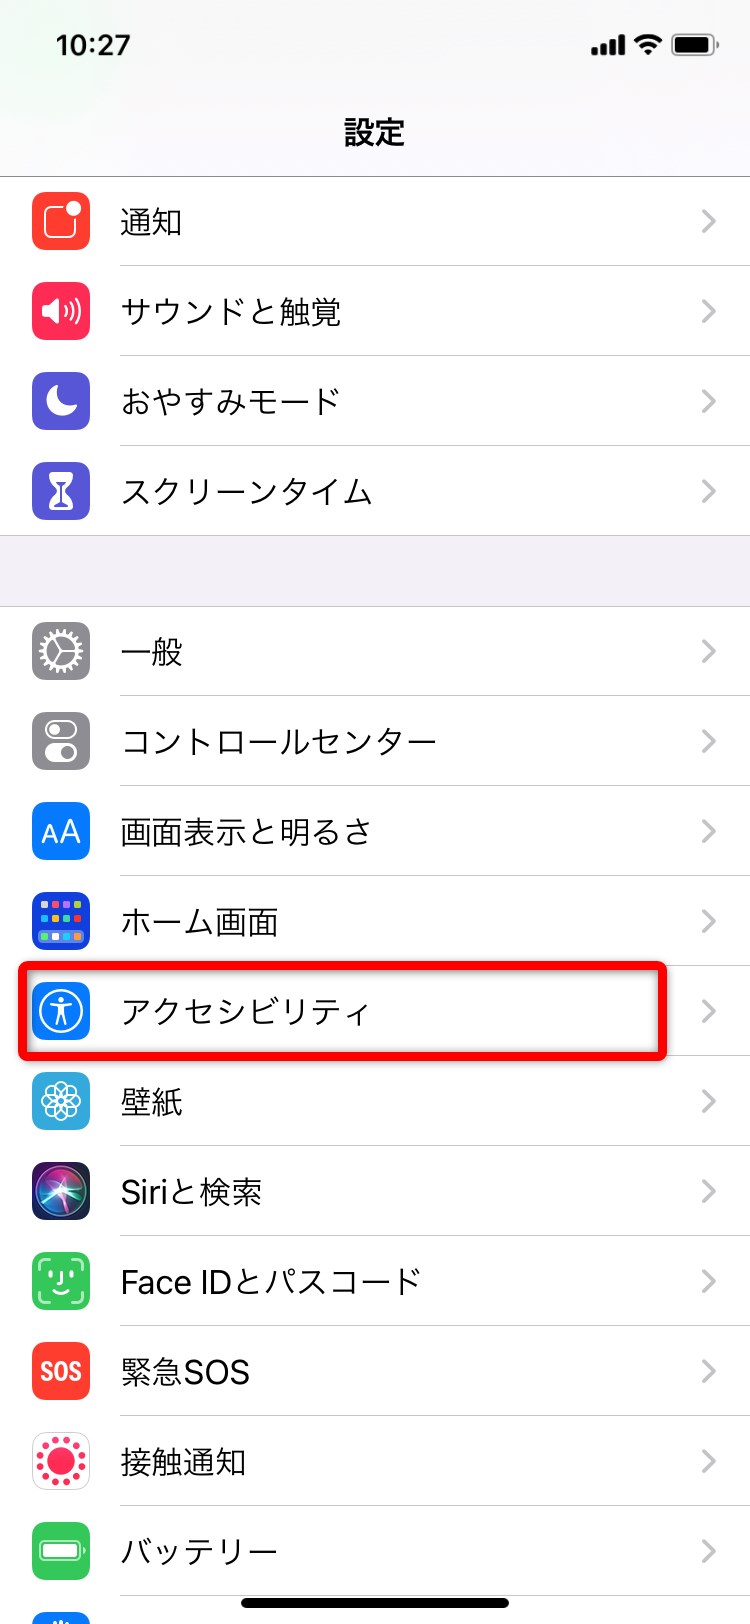
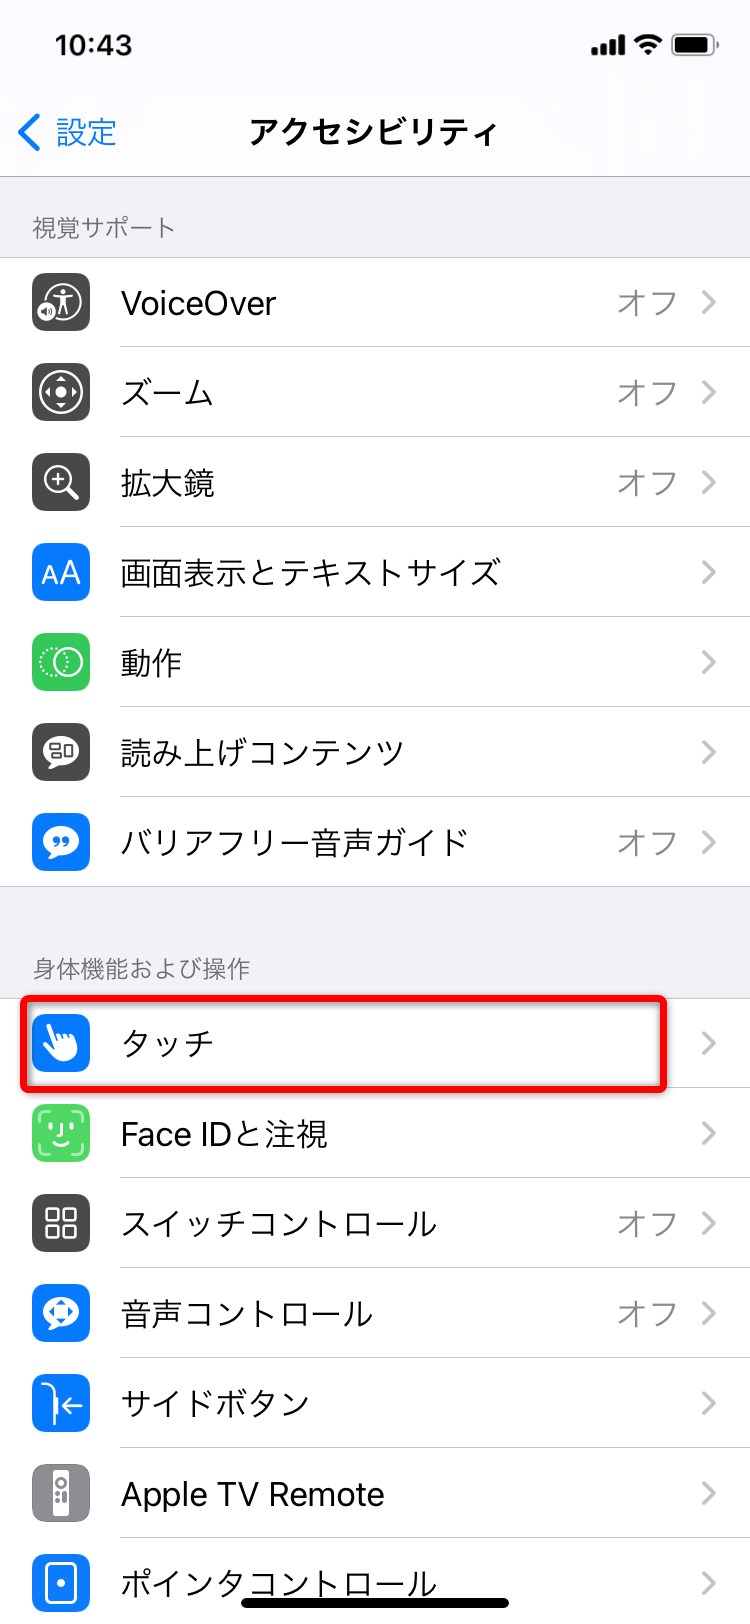
アクセシビリティを選択します。
AssistiveTouch画面のタッチをクリック
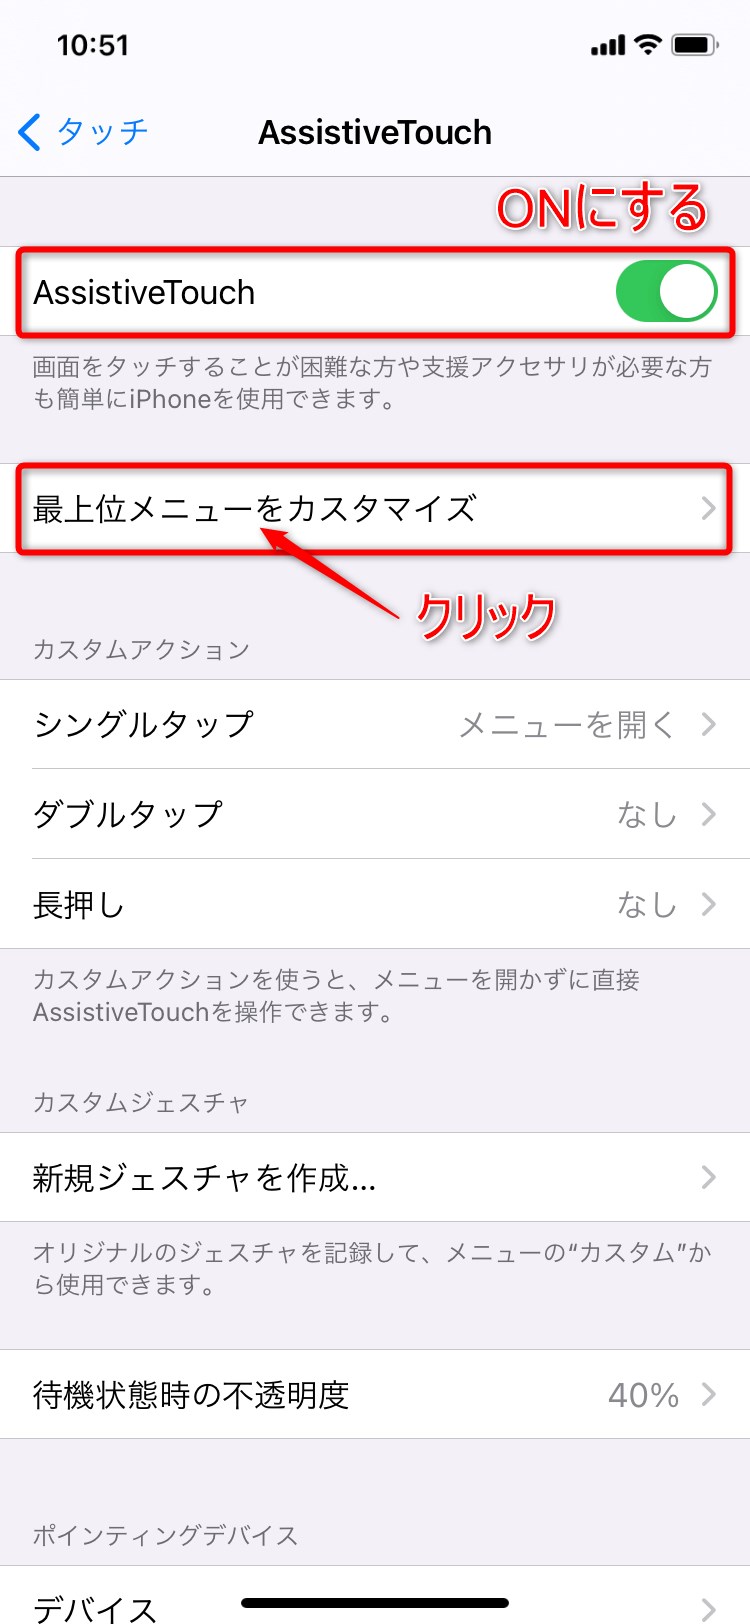
AssistiveTouchをONにして、『最上位メニューをカスタマイズ』をクリック
-ボタンをクリックしてアイコンを1つにします。
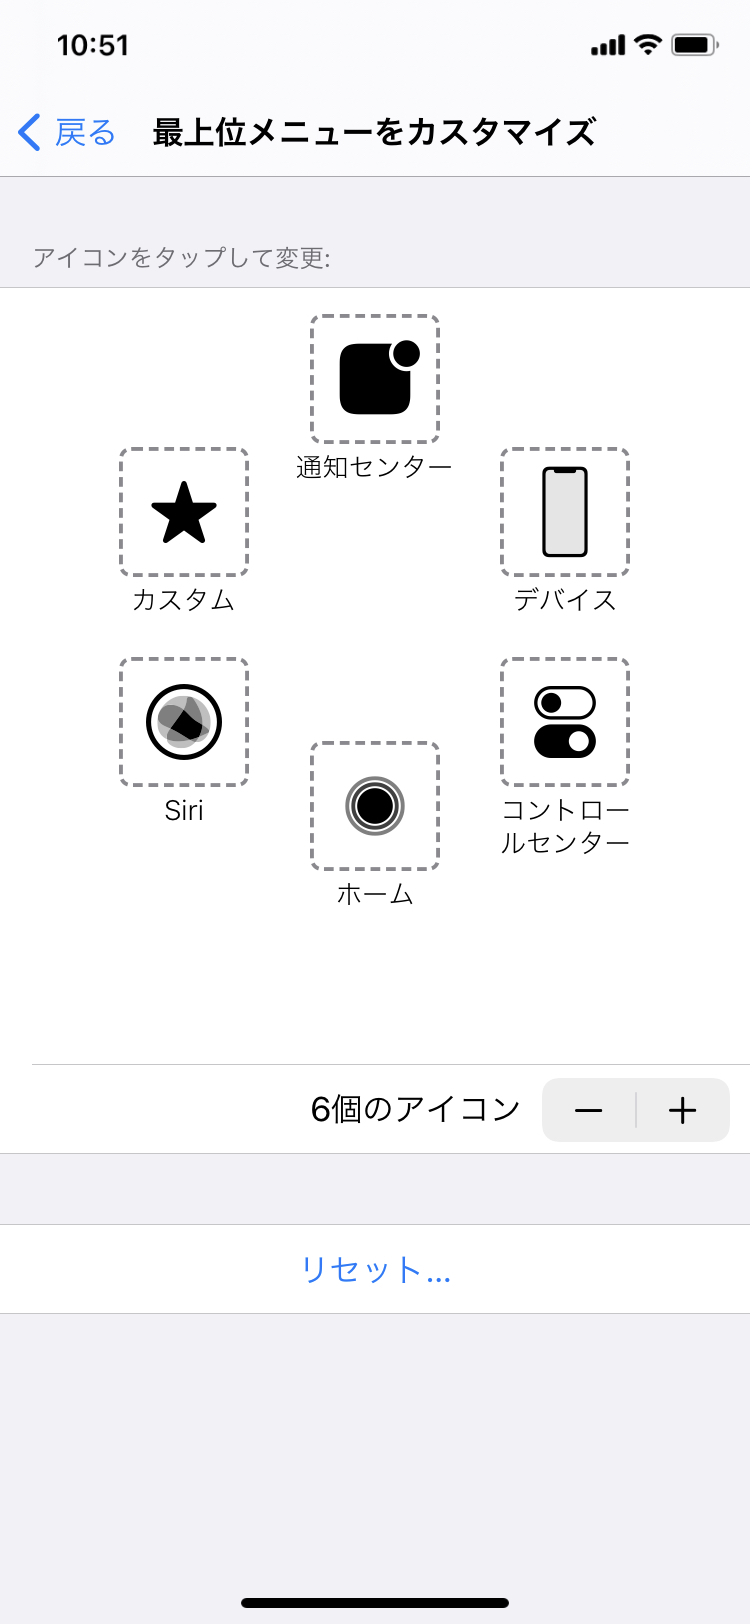
残ったアイコンは何でもいいです。
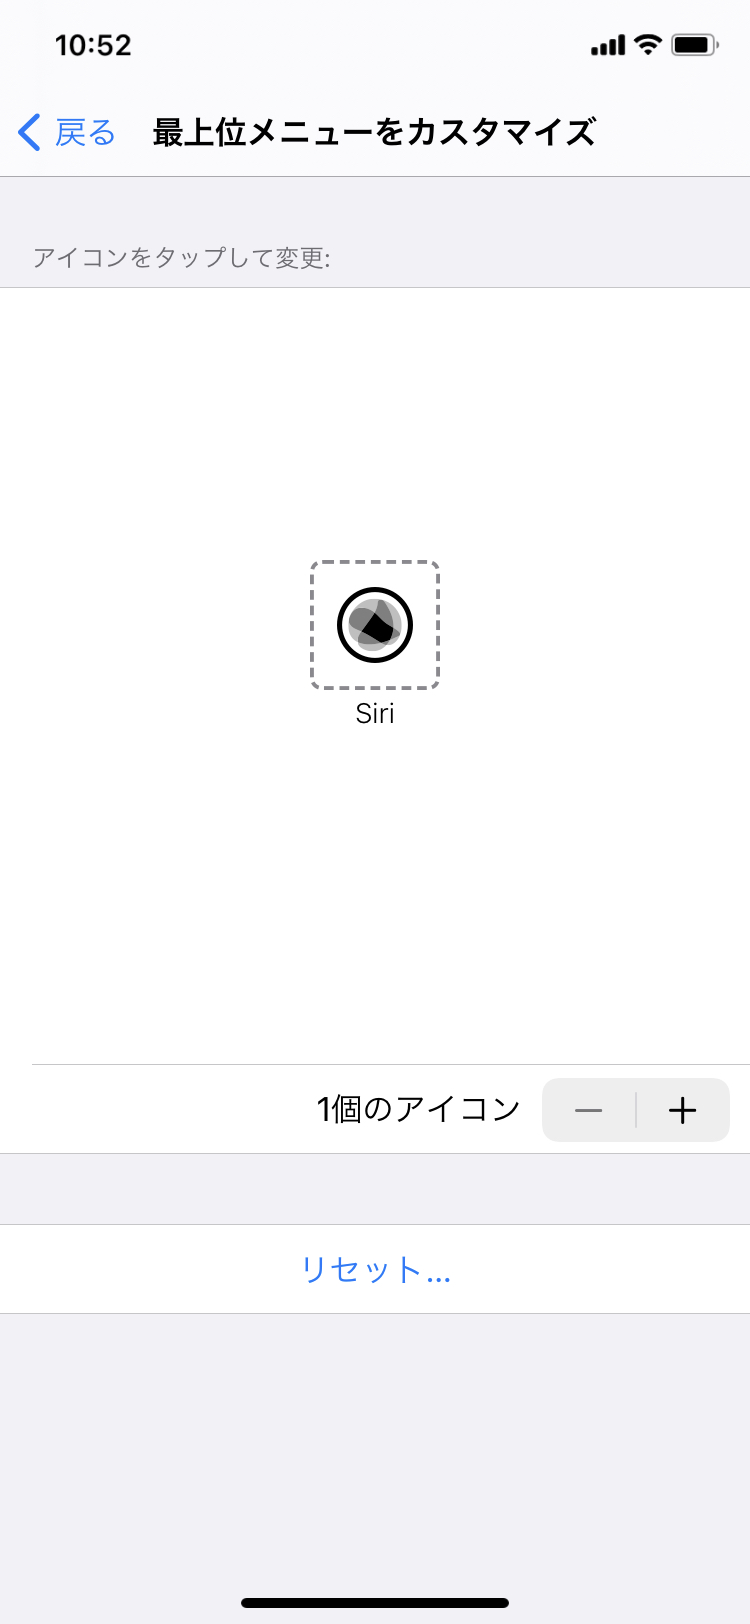
残ったアイコンをクリックし、出た画面で
スクリーンショットを選択する。
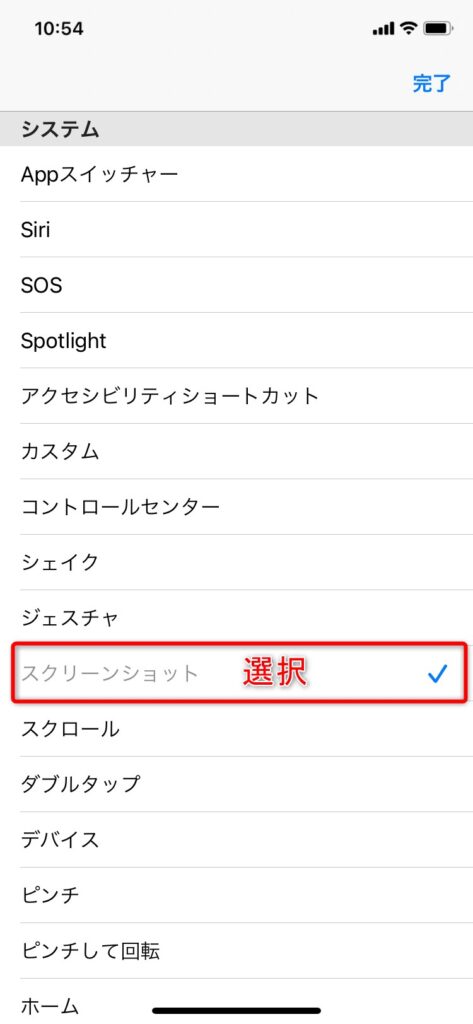
画面にスクリーンショットのショートカットボタンができます。

Androidスマホでスクリーンショットを撮る方法
電源キーと音量DOWNキーを同時に長押しする
Android 4.0以降のスマートフォンの大半は、端末の電源キーと音量DOWNキーを長押しすると、
スクリーンショットを撮影できます。